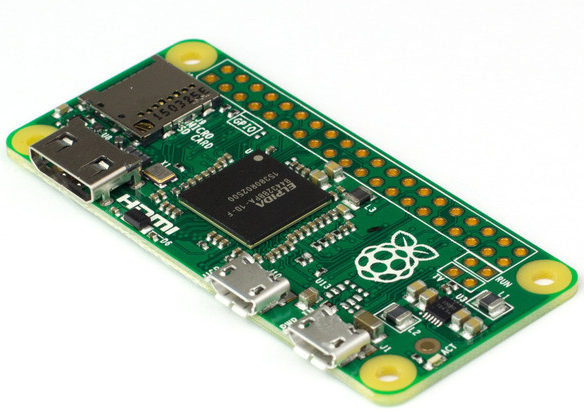
 Raspberry Pi Zero is the latest of the Pi’s family. It has a compact size and a reduced number of interfaces that are often not necessary in projects. It is therefore particularly suitable for IoT and various projects of tiny size but not powerless. In addition it has an extremely low price for the available capacity (~5$). And with the reliability of our beloved raspberry that has been proven for several years!
Several new features such as the Tree Device and USB On-The-Go simplify the implementation and allow to operate the RPi Zero without requiring keyboard, screen and other cables. A simple USB A to mini-B and a PC are enough. This way for the steps …
The advantage of this procedure is that simply a computer and a USB A to Micro B are necessary to installing the system and access to the Raspberry Pi Zero via SSH.
Prerequisites
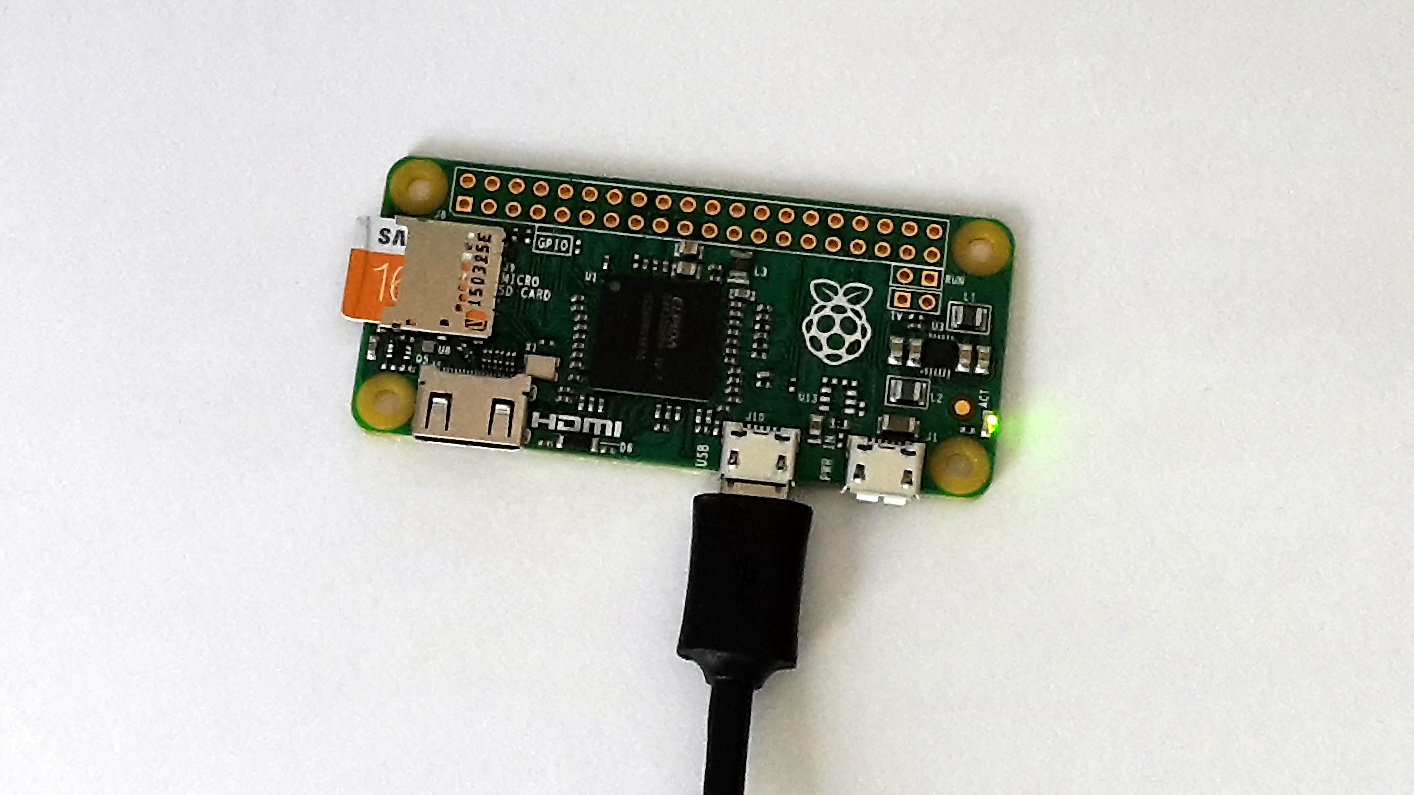
- RPi Zero board with an USB cable;
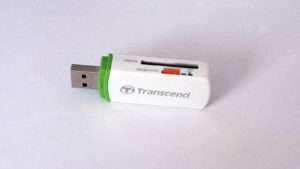
- Adaptater for the microSD card in order to write the Linux image;
- Computer with the software Bonjour installed (for windows).

This software enables automatic local networking for finding shared folders and printers, web and ftp servers or users of iTunes, iPhoto, etc … The UDP port 5353 is used to discover and to establish an exchange of the IP address of the device to connect.
Steps
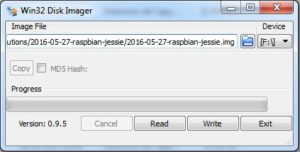
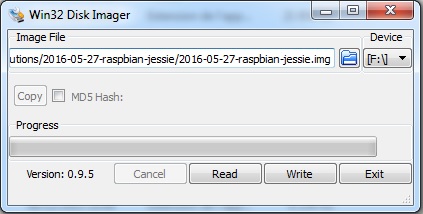
- Download the last version of the image Raspbian Jessie (version 2016-05-27-raspbian-jessie when writing this post);
- Write the image on the SD card. For example, with Win32DiskImager for Windows;
- Once the image written, access directly at the “boot” folder from the Windows explorer and then edit the files config.txt and cmdline.txt :
- Add the line
dtoverlay=dwc2at the end of config.txt; - Insert
modules-load=dwc2,g_etherjust afterrootwaitinto the file cmdline.txt. Attention: Don’t change the formatting. Each parameter are separated with a space character, not a newline.
- Add the line
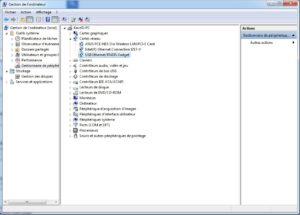
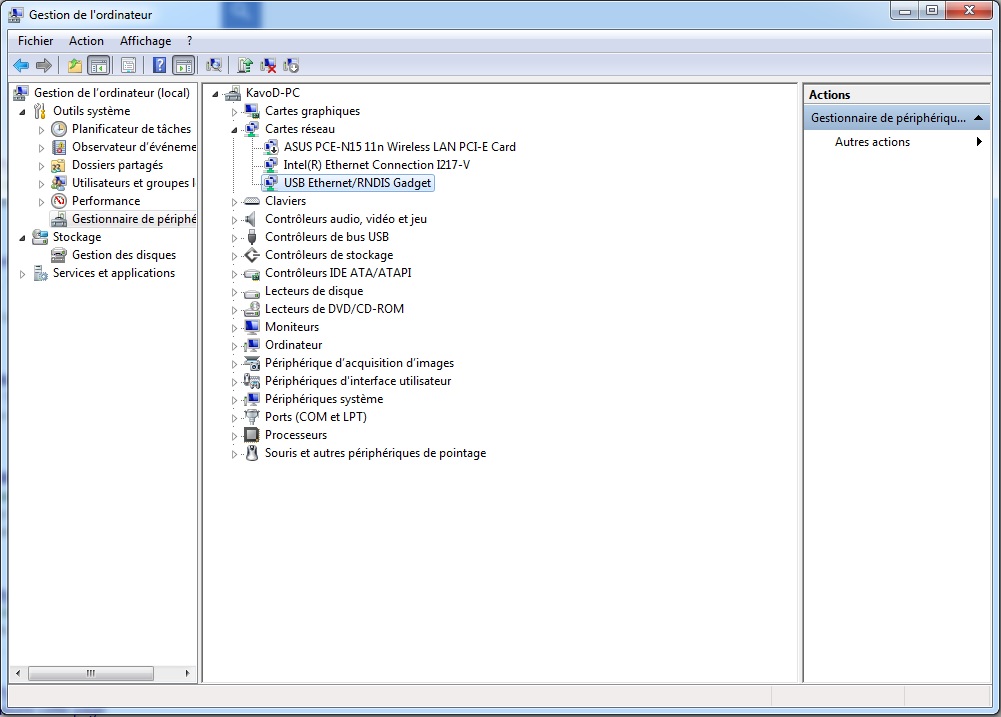
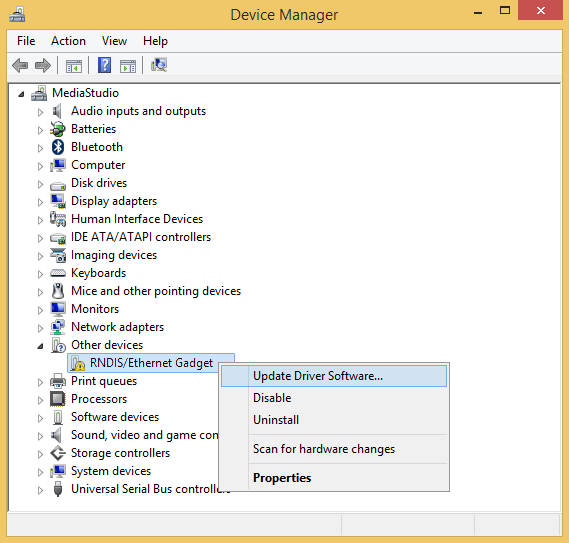
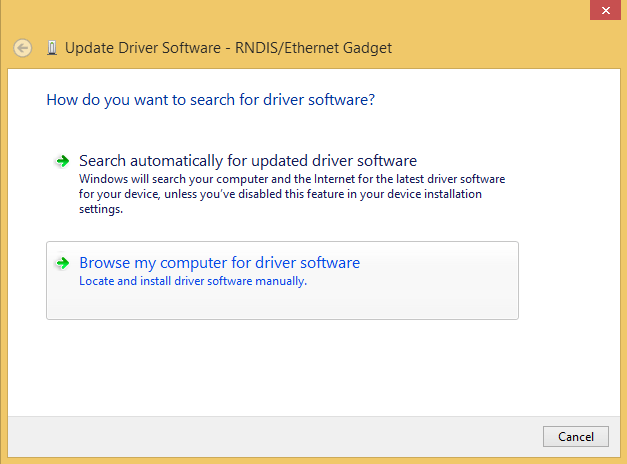
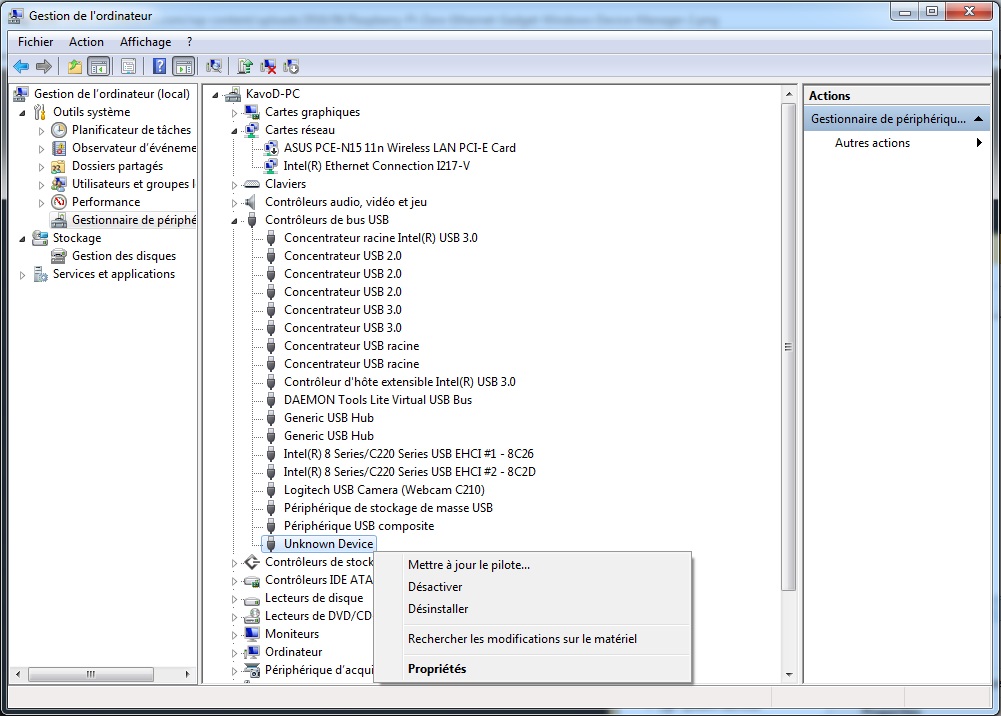
- You can eject the SD card and insert it into the Raspberry Pi Zero and connect it over USB. The boot process take about 90 secondes, so please be patient. You should see appeared a USB-Ethernet peripheral. Right-click and choose Update Driver Software then Search automatically for updated driver software.
- You can now connect to your Pi into SSH ! For that it is simple. For example use Putty and open a session by fill in the address
raspberrypi.local. Magic of the software bonjour and the protocol Zeroconf allow to connect.

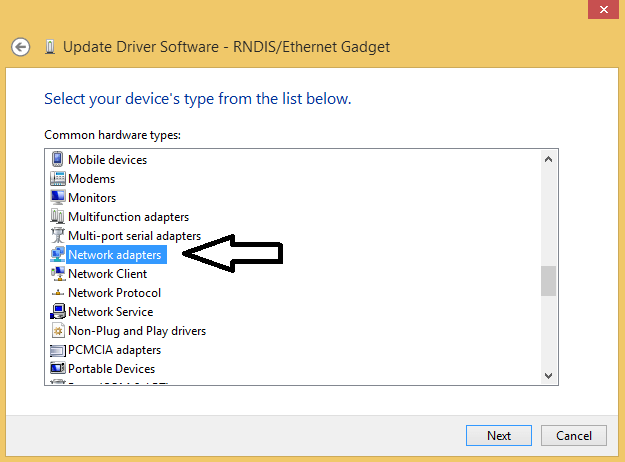
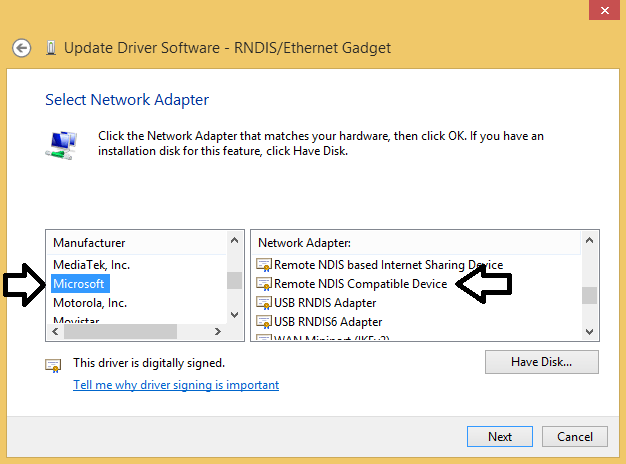
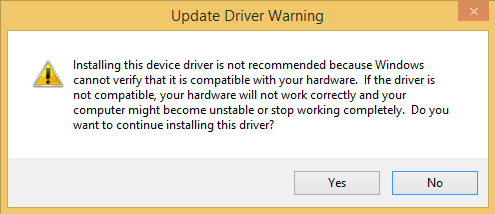
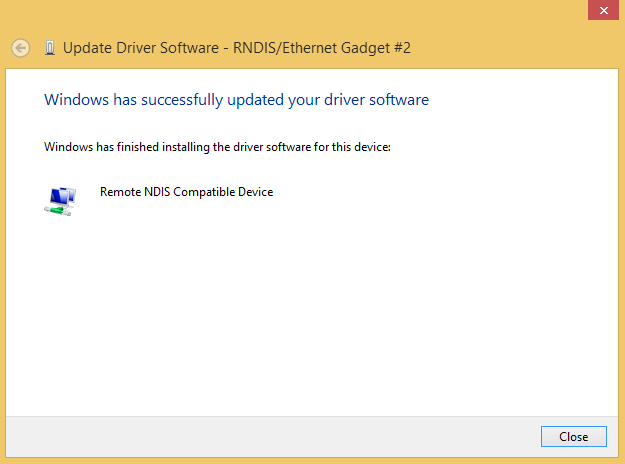
If you encounter any issue with the address raspberrypi.local and you have the following message when you tri to connect with Putty:
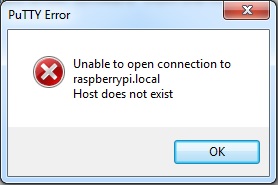
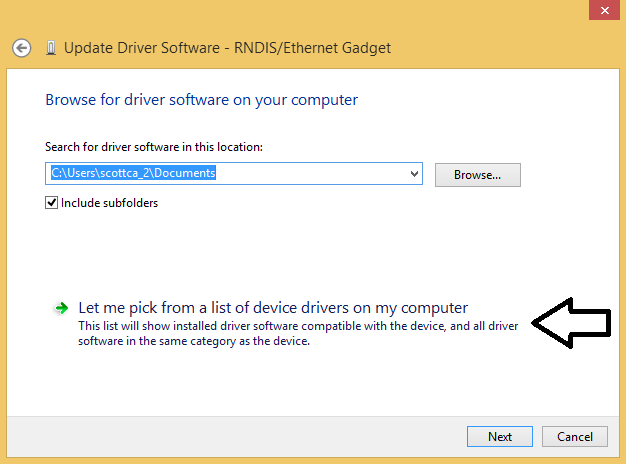
It is probably due to the driver RNDIS/Ethernet. Two possibilities:
Conclusion
Alright, your Raspberry Pi Zero is now ready without need of keyboard, cable or screen.
Now, the next step belongs to you all !
Sources :